




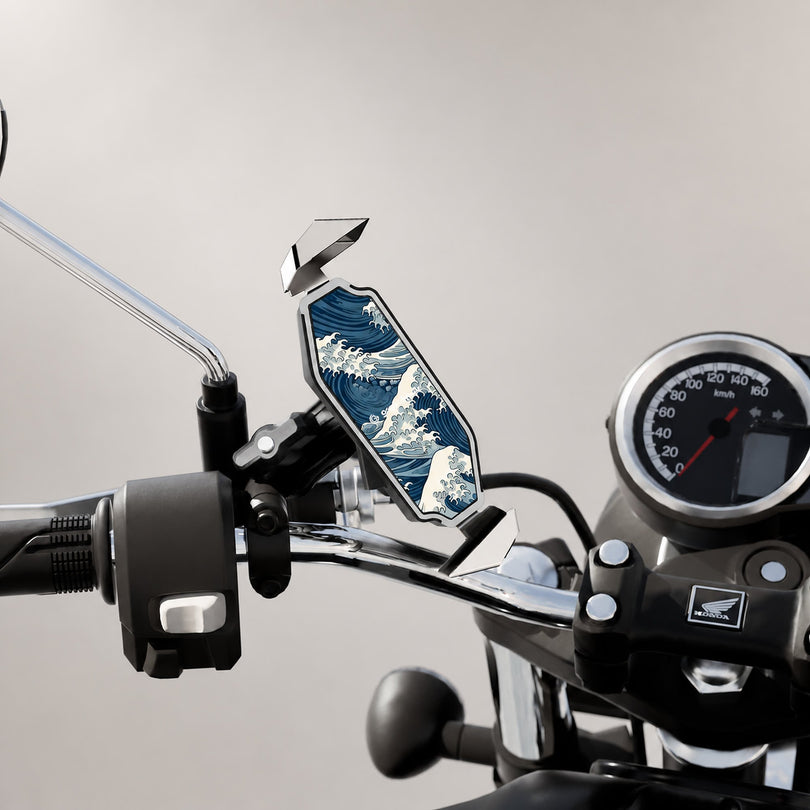

How to install a motorcycle phone mount: what tools do you need?
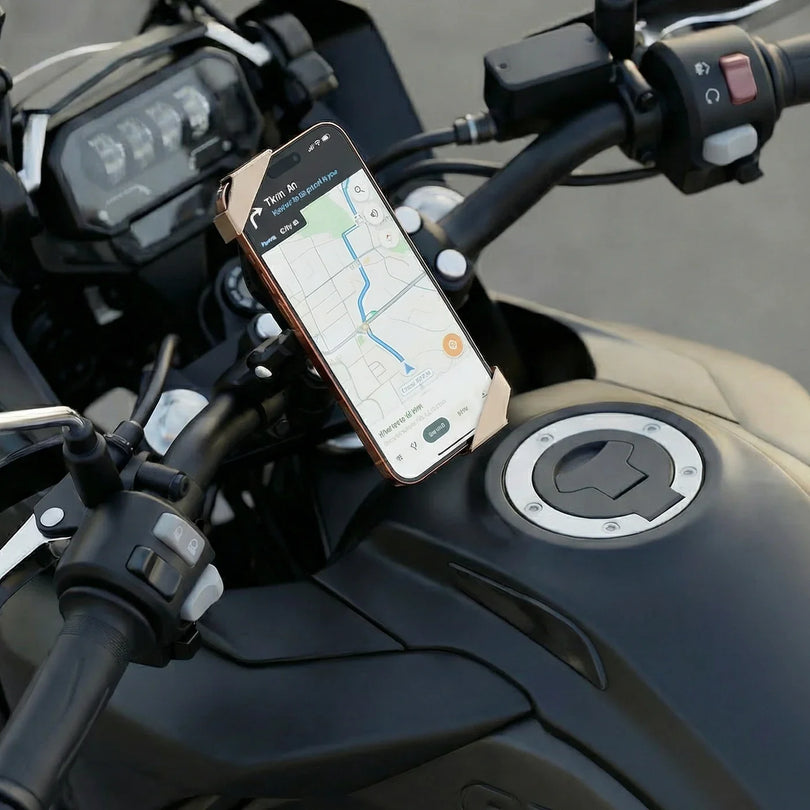
Needing your phone for navigation on a ride does not mean a trip to the shop. As long as you know how your mount attaches and have the right tools on hand, most motorcycle phone mounts that do not need wiring can be installed yourself.
That said, a mount is not finished the moment it is bolted on. Placement, how tight the screws are, the weight of the phone, and the clearance for full steering all affect how stable it is on the road. This article walks through the tools, the steps, and the checks to make before you ride.
First, confirm how your mount attaches
Handlebar layouts and available mounting points differ from bike to bike. Mounts generally attach in one of three ways:
- Mirror stem: mounts at the mirror bolt. Very stable, but you need a wrench to install it.
- Handlebar clamp: clamps directly onto a round bar or crossbar. Quick to install, but check that the bar diameter is compatible.
- Extension base: a base goes on the bike first, then the mount attaches to it. Easier to fine-tune for position and viewing angle.
If your bike has no suitable mounting point, a heavy-duty clamp mount base adds flexibility in both placement and viewing angle.
Before you start, read the product details and confirm the base type, bolt sizes, ball head size, and compatible bikes, so you do not find out after purchase that it will not fit.
What tools do you need?
1. Hex keys
Most motorcycle phone mounts use hex socket screws, which makes hex keys the most important tool for the job.
Some products include the right size in the box, so you can start as soon as it arrives. If yours does not, get a set covering several sizes. Using the wrong size rounds out the screw head and makes removal much harder later.
2. Open-end or adjustable wrench
To mount at the mirror stem, you usually have to loosen the nut at the base of the mirror first, which calls for an open-end or adjustable wrench.
With an adjustable wrench, set the jaws snug against the nut before applying force, so the tool does not slip and scar or deform the nut.
3. Phillips screwdriver
Some clamps, adapters, and accessories use Phillips screws. Not every mount needs one, but it is worth having the right size on hand before you start.
4. Rubber pads and shims
If the mount clamps to a handlebar or crossbar, a rubber pad adds friction and keeps a metal clamp from scratching the bike directly.
Some products include shims of different thicknesses for different bar diameters. Pick the one that fits closest, and do not force a clearly mismatched size tight.
5. Medium-strength threadlocker
Riding means constant vibration, and screws can work loose over time. If the instructions allow it, a small amount of medium-strength threadlocker on metal threads reduces the chance of that.
Avoid permanent or high-strength formulas, and keep threadlocker away from plastic parts, or you may not be able to take the mount apart later, or you may damage the material.
6. Cloth and alcohol
Wiping dust and oil off the contact surfaces first helps rubber pads grip more consistently, and keeps grit from scratching the bike when you tighten things down.

Installation, step by step
Step 1: pick the right spot
Hold the mount where you plan to install it, and check whether the phone would block:
- The instrument cluster
- The mirrors
- The ignition
- The brake fluid reservoir
- Turn signals and other switches
- The dash camera's view
The screen should be easy to glance at without blocking your view of the road. If you use a charging cable, make sure it is long enough and will not pull, tangle, or interfere with steering.
Step 2: install the base
Depending on the type, fix the base to the mirror stem, the handlebar, or an extension base.
With the OctaStand motorcycle phone mount, for example, secure the base first and then attach the mount body. Start every screw by hand, confirm the threads are not cross-threaded, then tighten gradually with the hex key.
If the base uses more than one screw, tighten them alternately so both sides load evenly. Do not run one all the way down first.
Step 3: attach the mount body
Once the mount is connected to the base, leave a little play instead of locking it down immediately, so you can still adjust the position.
Then sit on the bike in your normal riding posture, check where the screen sits, and adjust the mount's height, tilt, and left-right angle.
Step 4: check full steering clearance
Turn the bars fully left and fully right, and confirm the mount and phone do not touch:
- The windscreen or bodywork
- The tank or storage area
- The brake levers
- Throttle cables and brake lines
- Any other accessories on the bike
Some positions look fine while the bike is standing still, but collide or pull at full lock. Do not skip this step.
Step 5: tighten gradually
Once the position is set, tighten the base, the ball head, and the rest of the screws in stages. Tighten until the mount no longer turns easily. There is no need to force it further.
Tighter is not safer. Overtightening can strip threads, deform plastic parts, and even damage the handlebar or mirror stem.
Step 6: test with your phone in place
Put the phone in the mount and confirm the clamp holds it fully without pressing the power button, the volume buttons, or the camera module.
Then push gently on the mount and check:
- Whether the base rotates
- Whether the ball head or joint droops
- Whether the phone sits centered in the mount
- Whether the clamp closes completely
- Whether any screws are still loose
- Whether the phone goes in and out smoothly
Once the static test looks good, take a short, slow test ride. If the mount visibly shakes or gradually droops, pull over and readjust before going further.
The tracker bay version takes one more step
If you want the mount to help you find your bike after you park, not just hold your phone, consider the OctaStand motorcycle phone mount, tracker bay edition, which has a hidden compartment for a tracker.
The new tracker bay edition includes a dual-mode GC-Tag. Depending on your phone, it works with Find My on Apple devices or Find Hub on Android devices, so one tracker covers both platforms and you do not have to pick a version up front.
Before installing the tracker, finish this setup:
- Pair the tracker with your phone.
- Confirm the map shows its location correctly.
- Test the find features, such as playing a sound.
- Seat the tracker properly in the hidden bay.
- Close the bay and lock the tamper-resistant cover.
Pairing before the tracker goes into the bay saves you from taking everything apart again afterward.
If you want to add a tracker separately, or put one on keys, a backpack, or luggage, take a look at the GC-Tag item tracker.
Keep in mind that tracking is meant to help you locate your bike and confirm where it is. It does not replace a steering lock, a disc lock, or other physical security.

Common installation mistakes
Running one screw all the way down first
When a base has several screws, tighten them alternately and evenly. Locking one side down first can load the clamp unevenly and hurt stability.
Testing the empty mount without a phone
The weight of the phone changes how the mount is loaded. An empty mount that does not droop is no guarantee it will stay put with a phone in it, so always test with your own phone.
Mounting somewhere that gets in the way
The mount must not interfere with the throttle, the brakes, the switches, or full steering. Even light contact means it is time to move it.
Extending the arm too far
The longer the arm, the more leverage it creates while riding, which amplifies phone shake. Keep the distance between arm and base as short as you can without hurting visibility.
Overtightening
Too much force can strip threads, deform parts, or crack the mount. Tighten in stages and stop once it is solid.
Never checking it again
Road vibration is constant while you ride. Recheck the mount a few days after installation, then check the base, ball head, joints, and clamp periodically for looseness.
Installation is easy. The checks afterward are what matter
As long as the mount is compatible with your bike, a set of hex keys and an open-end wrench are enough for most people to install one. What really affects safety is whether the position is right, whether the screws are tightened evenly, and whether it stays stable with a phone in it.
If multi-point grip, vibration damping, and quick release matter most, look at the OctaStand motorcycle phone mount. If you also want help locating your bike after parking, consider the OctaStand motorcycle phone mount, tracker bay edition.
 OctaStand Motorcycle Phone MountEight-arm grip, tool-free install, steady t...
View product
OctaStand Motorcycle Phone MountEight-arm grip, tool-free install, steady t...
View product


